fbpx
Categories Superior Plumbing & Drain

Winterizing Outdoor Pipes

Winterizing Outdoor Pipes

Winterizing outdoor pipes saves money in the long run.  Be sure to follow these Superior Plumbing & Drain tips:

  1. Insulate pipes with insulation sleeves, wrapping or using slip-on foam pipe insulation. Don’t leave any gaps without insulation as cold air can affect the pipe in these spaces. Plastic piping is more tolerant than old copper or steel water pipes. Winterizing outdoor pipes now helps.
  2. Inspect the exterior of the property, making sure that all visible cracks are sealed. Cold air can enter through the cracks and, once inside, it will cause your pipe to freeze. If visible cracks are noticed, seal them using caulking or spray foam to fill the voids.
  3. Maintain a heating source inside the building to protect pipes against cold.
  4. It is a good idea to maintain a faucet dripping, allowing the water to move freely and continuously, preventing it from freezing.
  5. Make sure the crawl space is properly insulated. Block all vents that lead to the outside using cardboard or wood.
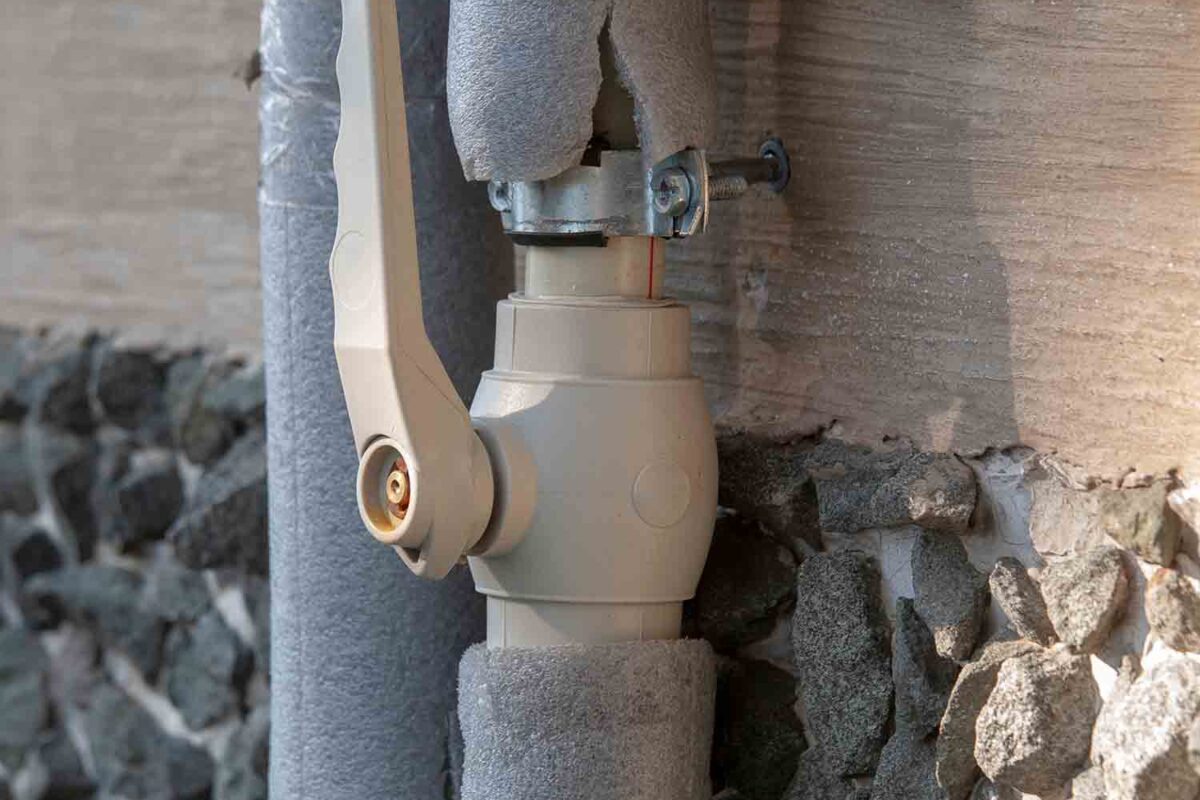
  6. Don’t forget the hose bibs. Hose bibs are normally left unattended, causing them to burst in the middle of the night. Drain hose bibs and insulate with covers. Once this has been completed, deactivate bibs at the shutoff valve.
  7. Use heat tape to protect pipes from freezing. Heat tape is one of the preferred methods for winterizing plumbing, but be aware that these might bring additional hazards. The U.S. CPSC has provided safety recommendations for homeowners using heat tapes to help prevent fires.

Superior Plumbing & Drain

We’ve been servicing Las Vegas for many years and we see pipes burst all the time. Be sure to follow these steps and save yourself some money along the way.

If you need emergency plumbing services, please call us at (702) 468-9743. Our technicians are on call twenty-four, seven to serve you. For all plumbing issues, call Superior Plumbing & Drain.

Categories Superior Plumbing & Drain

Residential Plumbing Care

Residential Plumbing Care

Residential plumbing care in Las Vegas has challenges more than in any other market. It has been reported that Las Vegas has the second hardest water in country next to Indianapolis, Indiana. Regardless of where we rank, residents understand the hard water challenges.

Showers and Sinks

Residential plumbing care in Las Vegas starts with the most used fixtures in the house, showers and sinks. Because we use them more than any other, the build-up shows faster in these areas. Always address a collection of minerals around the spout.

Remedies include lime or mineral dissolving cleaners. Find non abrasive cleaners to ensure fixtures don’t get scratched or harmed in the cleaning process. The expense to change a fixture far outweighs the cost to manage build up.

A good, non-abrasive remedy is vinegar. Fill a large plastic cup with vinegar and submerge the spout into the vinegar. Let this sit for a few minutes to see the vinegar work. Of course, consult the manufacturers recommendations that vinegar is acceptable. 

Water Heaters in Las Vegas

In our water heaters, the build up is invisible. Signs of wear in our water heater show at the bottom where the sediment falls to create small cracks. These cracks lead to a leaking unit and the ultimate failure resulting in water damage. A regular plumbing check helps prevent water heater failure.

It’s also important to note the date of installation for a water heater in addition to the warranty. Keep this information handy as the unit ages. As the unit nears the life expectancy, consult your plumber about maintenance, including a replacement.

Replacing the anode rod prolongs the life of the unit because the rod attracts the minerals protecting the unit. This rod is a disposable item, meaning it has a life expectancy of its own. Conduct a regular check of the rod during annual plumbing inspections.

Categories Superior Plumbing & Drain

Cleaning A Shower Head

Cleaning A Shower Head

Cleaning a shower head doesn’t take much time if you have the proper items. If you are seeing your shower head getting discolored or having water flow issues, it’s be time for a good cleaning. Using harsh chemicals damages fixtures and harmful to humans and pets. When deciding on a substitute, think about vinegar.

As an effective cleaner, vinegar is safe for you and your family. When used properly it’s a powerful tool in your cleaning arsenal. An additional benefit, vinegar is very inexpensive when compared to those harsh household cleaners. You can buy vinegar by the gallon at the local store for a fraction of the price of chemical cleaners.

NOTE: The type of finish on your shower head and connections will determine if vinegar can be used. Please know the materials before using vinegar to clean. Test a small, inconspicuous area with a cotton swab and let sit for 30 minutes before using on larger areas. You can find out more info on vinegar cleaning products here: Vinegar Cleaning Products

Cleaning a Shower Head

After confirming your shower fixtures and shower head can withstand the vinegar cleaning, it’s time to get started. Here are a few things you may want to use:

  • Distilled white vinegar
  • Bucket or solid base container
  • Cleaning rags
  • Old toothbrush
  • Paperclip
  • Pliers or wrench

When removing the shower head, place a protective cover, like a rag, over the connected showers surface. Then use the wrench to turn the fixture and remove the shower head.

Once removed, place the shower head into the bucket to catch any debris that falls off during the process. Use the vinegar and the toothbrush to remove mineral deposits. Rinse the fixture under running water until clean.

When clean, replace the shower head and test to ensure the connection is tight and there are no water leaks. Pro Tip: use plumber’s tape when replacing the fixture to get a tight connection.

When undertaking any DIY project, conduct proper research prior to starting. If you have any questions, call Superior Plumbing & Drain at (702) 478-9643.